I swear that I haven’t lured you with the title under false pretenses. You came here to see the quickest and easiest cat seat DIY you’ve ever seen in your life, and that’s exactly what I’m going to deliver.
2 seconds is how long this not-at-all-complicated DIY takes, and as you’ve certainly already guessed, that means no tools, few “parts,” a very easy DIY to take apart and put back together, meaning you can move it, stash it away, or throw it back up in the same very few seconds it took you to get the DIY put together in the first place.
Okay, enough ado about nothing. Time for the 2 second breakdown.
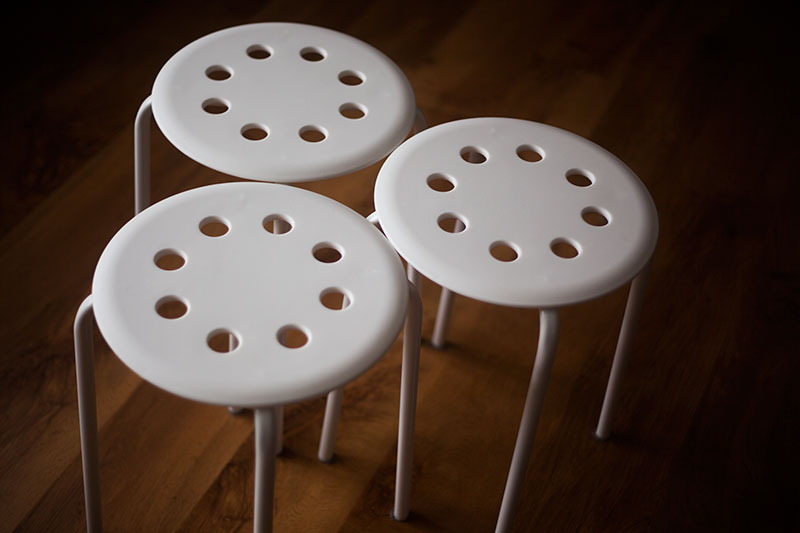
Take an Idea Marius Stool –
 Ikea Marius White Stack-able Stool – Amazon / eBay
Or two, or three –

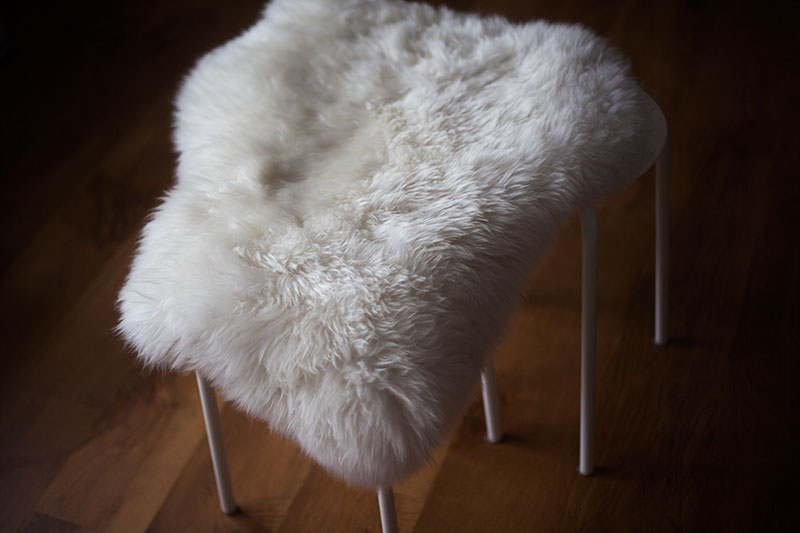
And throw an Ikea Rens sheepskin, a blanket, a throw, or any other equivalent on top –
 Genuine Sheepskin – Amazon / eBay
Yup! That’s it!
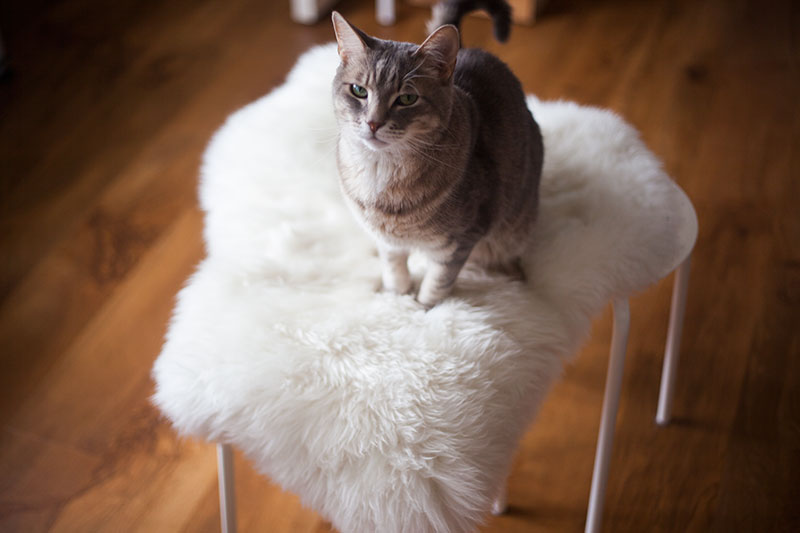
Now you just need one cute kitty (lured with a little cat food if need be),

And some time for him to get used to his new cat seat, and you’re all set!

Of course you don’t have to use the Ikea Marius stools for this cat seat DIY to work, but I like the Marius stools because they’re cheap, lightweight (and thus easy to move from one place to another), they stack well if you’d like to put them away, and they’re the perfect height for this kind of thing.

Again, you don’t have to use a fur either. You can use anything you’d like on top. A wool throw or a fleece blanket I’m sure would be greatly appreciated by any feline friend.
My favourite part about this DIY is how quick and easy it is to move to new spots, put away/hide if guests are over, or to change up with different options (blankets, throws, pillows, furs) on top. It can be hard keeping indoor cats entertained, but even the simplest of changes – like rearranging furniture and creating additional sleeping & napping spots for instance – can make a huge difference keeping indoor cats happy. A DIY so versatile as this one can be really handy in this department, especially if you happen to be cohabiting with your cat in a relatively small apartment.

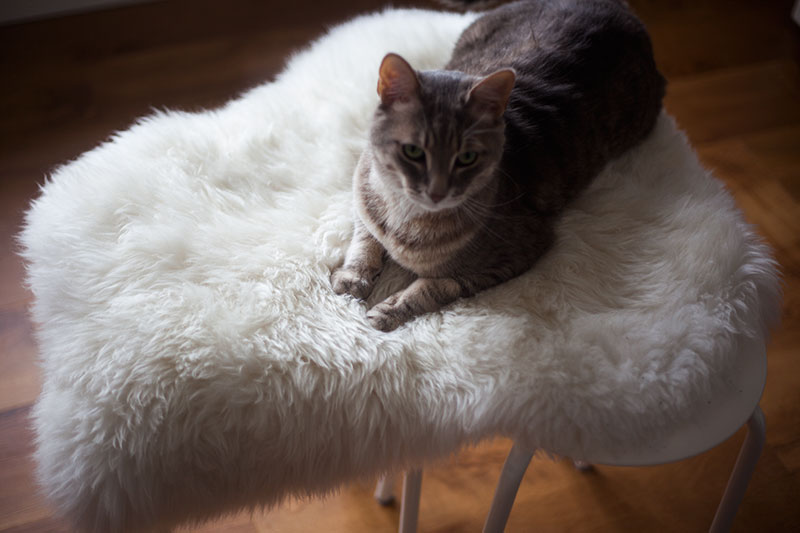
Avery was not a huge fan of the DIY Ikea Knagglig Cat Bed I made him, so I ended up turning that back into a box to use for storage. But this DIY he’s very fond of, so long as I am sure to adapt it to his taste. He loves his black blanket for sitting and napping on for long periods of time, and he likes being within reach, in a spot easy for me to pet him. So for the past few months, I’ve had two Ikea Marius stools next to me at the desk I work at with his blanket folded over and over on top to create extra padding.
He loves it and will spend hours sitting next to me in this one spot. If he ever gets bored of it and stops using it so much, it’s easy as pie for me to change things up for him to reignite his attention to it. I can always add a third stool to make the space bigger for him, can change what’s on top or add more “padding,” or can even move the location of the cat seat to the other side of me. All in under 2 seconds.

Absolutely perfect cat DIY if you ask me! 🙂

That is a great idea.
Thanks so much, Ellen!
That does look like a comfy spot!
Agreed! Wish it was comfy enough for humans to use 😉
It is always a good thing when you find your comfy!
Agreed! 🙂 And there can never be too many comfy spots!